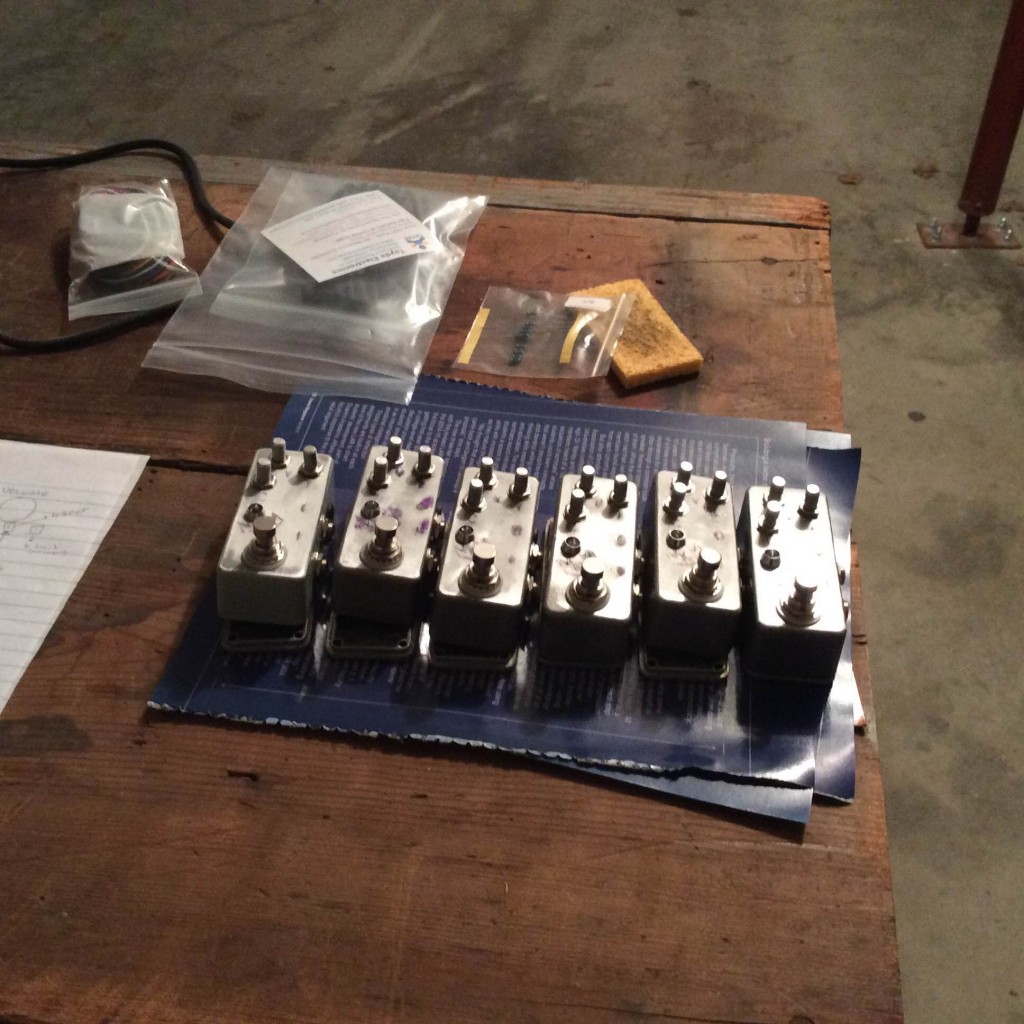
Over the past two weekends I’ve made progress on my first run of six Kingman pedals, and have finished the first two. I know #0002, the one I’m keeping, will go into immediate use as Mars Lights continues to record our double LP.
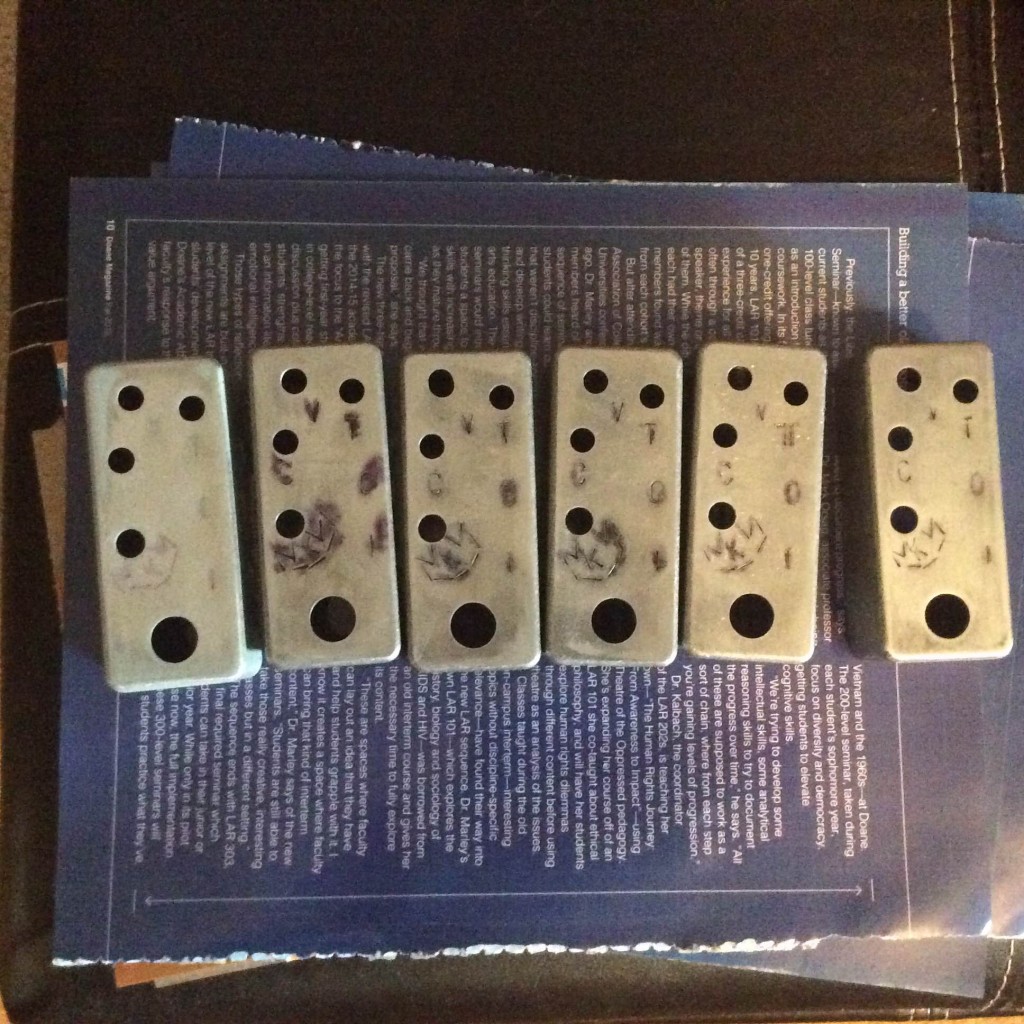
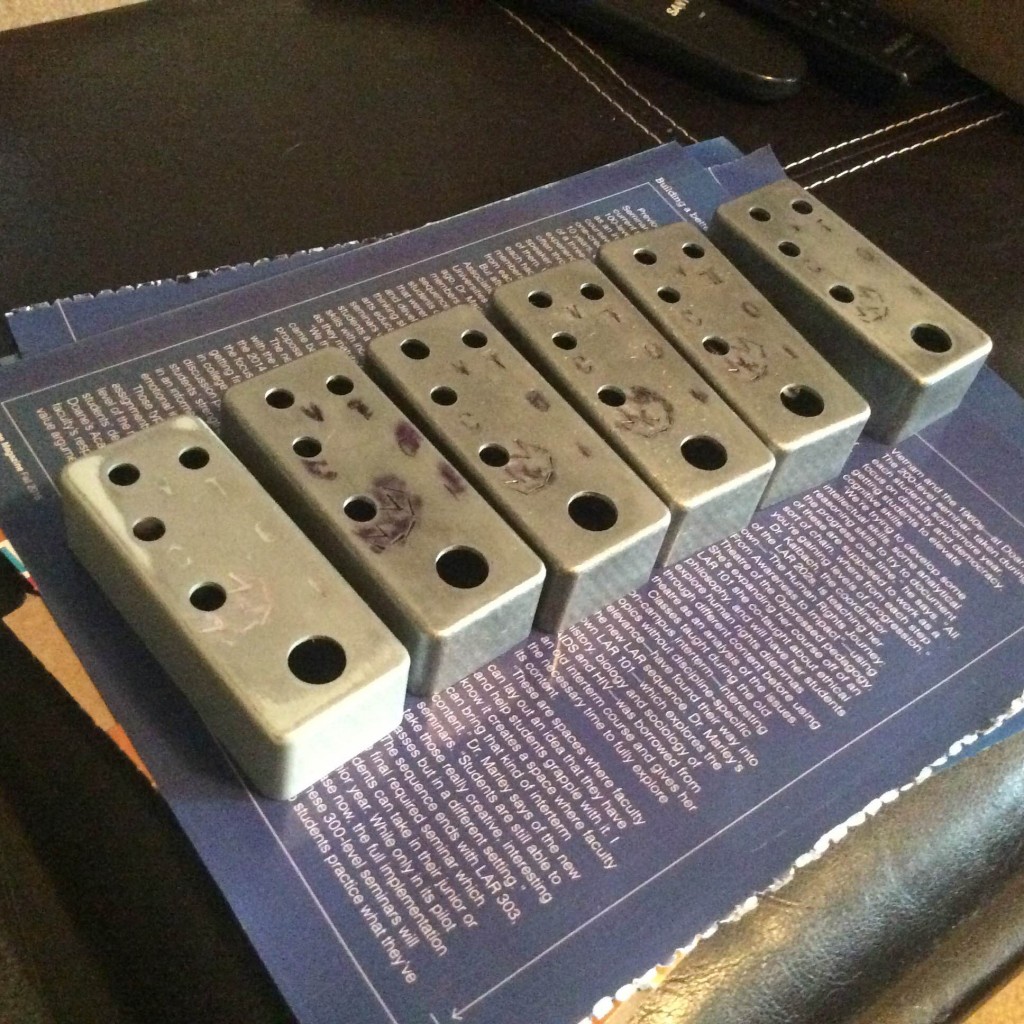
Last weekend was given over to figuring out how to finish the enclosures. I tried various combinations of paint, stamping, Sharpie, dry sanding, wet sanding, and clear coating.
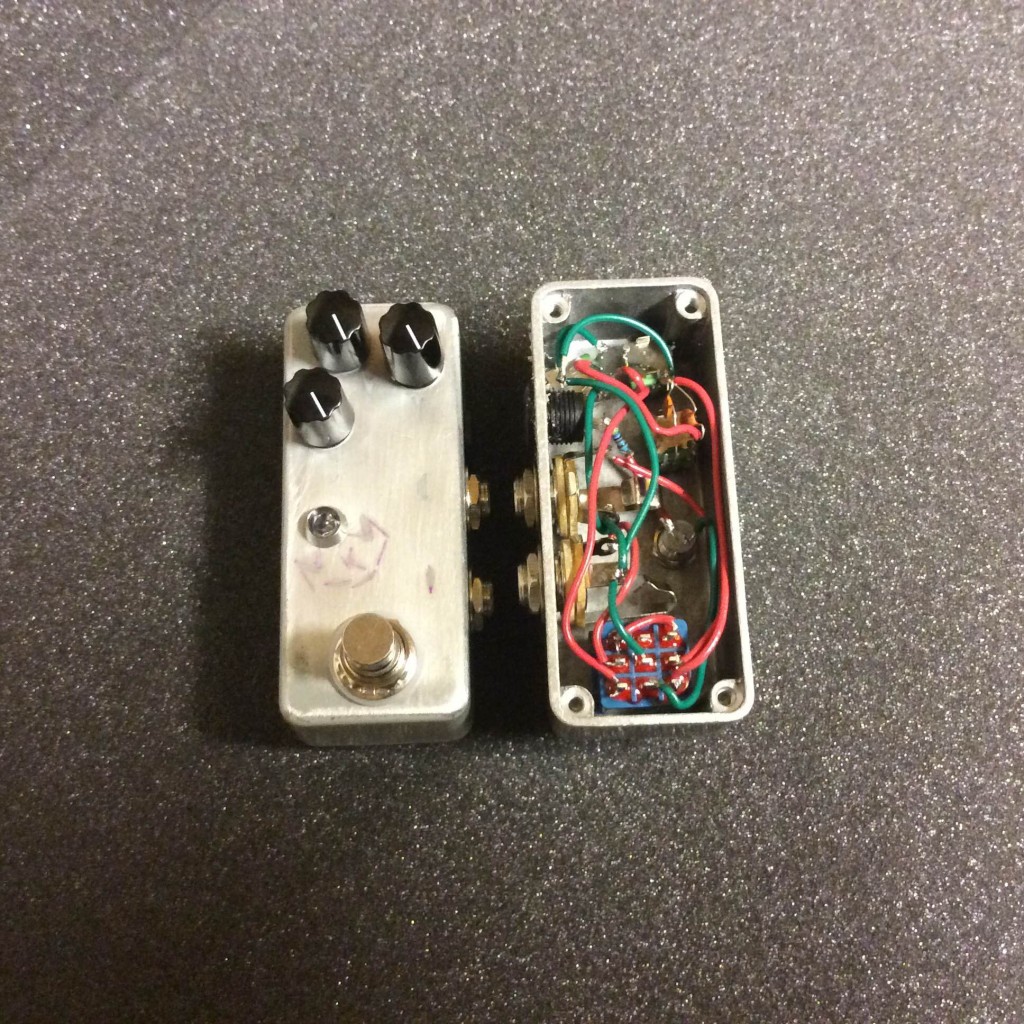
Simple as the Kingman circuit is, there’s no circuit board; just parts mounted to the enclosure, point-to-point wiring, and two capacitors.
Yesterday I started wiring. It’s not the prettiest but the connections are solid and it gets the job done. No one can hear my wiring!
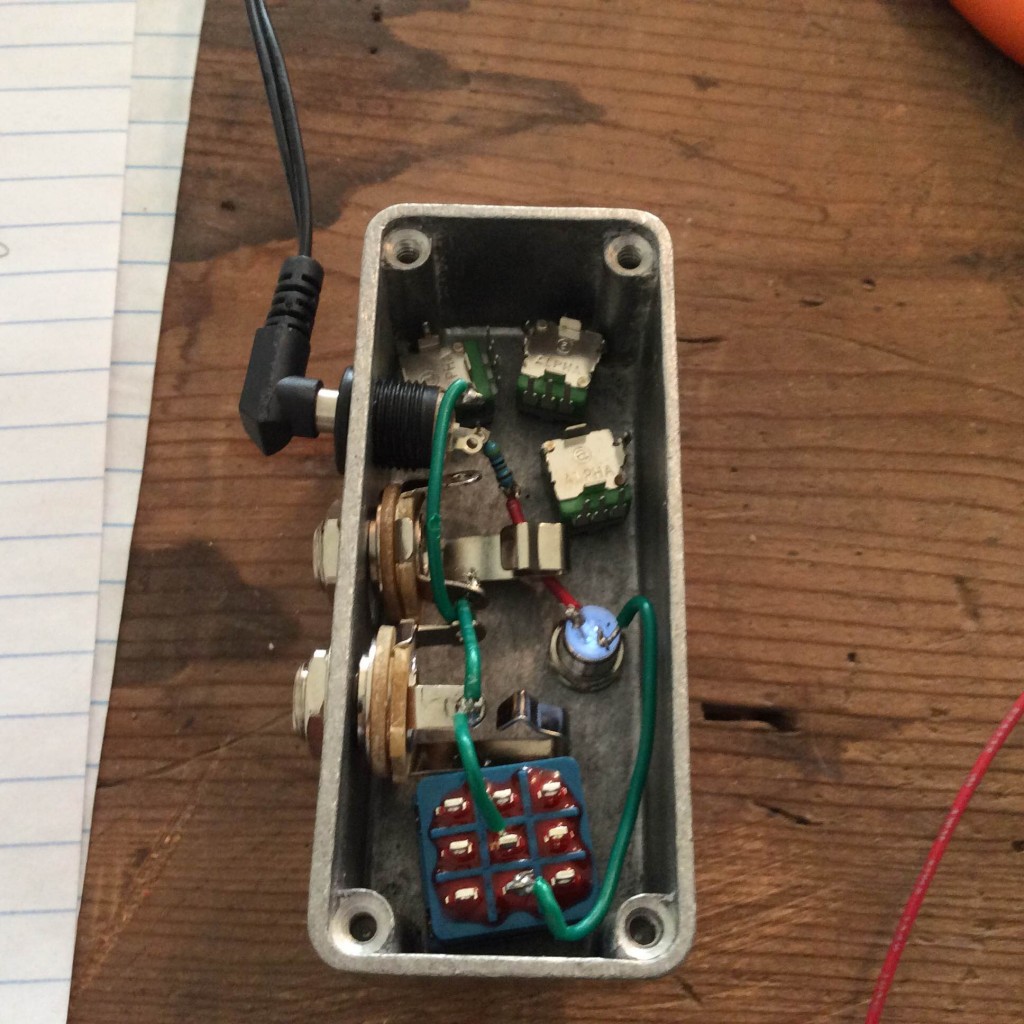
The first one took two and a half hours, but it worked on the first try. I consider that a win.

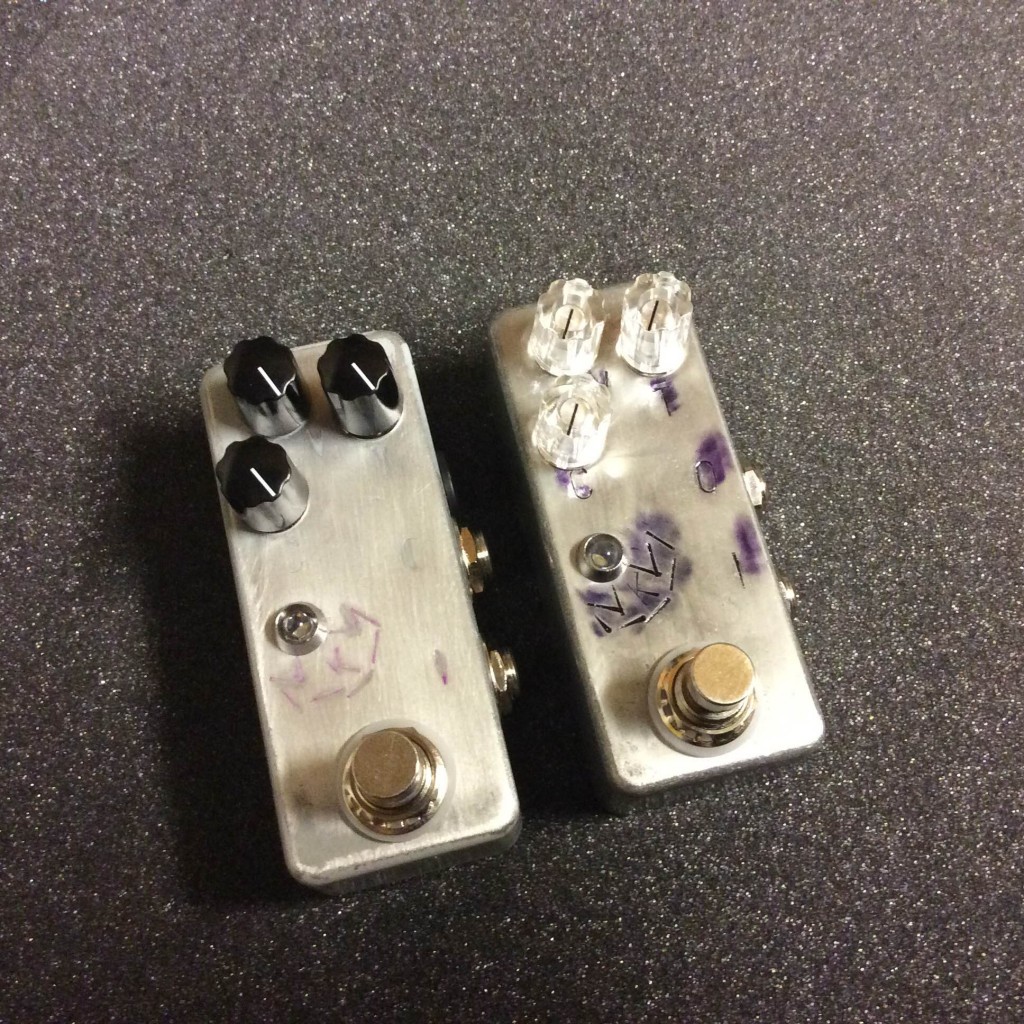
After getting #0002 running (I numbered based on the enclosures. Wanted to do something special with #0001 and thought it would benefit from me making and correcting any wiring mistakes on my own) I wired #0001 up today. #0001 is the only enclosure I painted and will be the only one with black knobs. Future Kingmen will look more like #0002 with the clear knobs, but without the purple smears. I learned how to fix that, but thought that since purple is a royal color I would leave mine with the weird blurs.
Like I said, not the prettiest at all. Neither were a lot of great-sounding vintage pedals! I appreciate today’s beautiful PCB and wiring jobs as much as the next guitar player, but they’re not necessary for a circuit to do its job.
What have I learned?
- How to finish enclosures in a unique way. None of these first six are exactly how I plan to do them in the future; I learned how to avoid the smearing you see on #0002 (and to a lesser extent on subsequent ones) as I did the very last step. Future boxes will look similar to #0006 but even cleaner around the stamps.
- Stuffing PCBs is a very small part of making a pedal! Honestly if the Kingman had a PCB with 20 components, it would only add maybe an hour or less to the 3 1/2 – 4 hours of labor I put into each of these pedals. I imagine I’ll get faster over time, but there are limits.
- Stamping is tricky. Got to hit the stamp (not one’s fingers) square, hard, and on the intersection of any lines (such as where the three lines of a “K” meet).
- I’m proud of fitting the input and output jacks on the same side of a mini enclosure, saving players’ pedal board space
- I’m not done with this run – four more wiring jobs to do – but I’d do it again, and plan to.